A Complete, Expert-Level Guide to Moisture-Proofing Your Space
Waterproofing a bathroom isn’t just a technical requirement—it’s a long-term protection strategy. When the process is executed correctly, it prevents leaks, mould growth, tile damage, and expensive structural repairs. Yet, many homeowners still underestimate how nuanced bathroom waterproofing really is.
This guide delivers a deep dive into the right way to waterproof a bathroom, backed by best practices, builder-grade recommendations, and strategic insights to help you achieve a future-proof, moisture-resistant environment.
1. Why Waterproofing Matters More Than You Think
Bathroom surfaces are exposed to water multiple times a day, often in ways that aren’t visible. As moisture slips through micro-gaps, grout lines, and porous materials, it quietly infiltrates the substrate. Over time, this leads to:
- Persistent dampness and mould
- Musty odours that never go away
- Crumbling walls or ceilings
- Loose tiles and hollow sounds underfoot
- Increased repair and renovation costs
A properly waterproofed bathroom, however, creates a sealed envelope—ensuring water stays exactly where it should.
2. Understanding the Core Components of Proper Waterproofing
Before beginning any installation, you must understand what a complete waterproofing system includes:
- Primer: Helps the membrane adhere securely to the substrate.
- Waterproof Membrane: The primary barrier that prevents moisture penetration.
- Joint Tapes & Corner Seals: Reinforce weak points where leaks most commonly start.
- Bonding Agents: Ensure tiles grip tightly to the membrane.
- Drainage Components: Ensure water flows away without pooling under tiles.
Without all five elements working together, the waterproofing layer becomes vulnerable.
3. Step-by-Step Process to Waterproof Your Bathroom
A professional-grade waterproofing process typically includes these stages:
Step 1: Inspect and Prepare the Substrate
- Remove old tiles, adhesive, and flaky plaster
- Level uneven surfaces
- Clean dust, debris, and moisture
Step 2: Apply Primer
Ensures better bonding and seals the base layer.
Step 3: Seal Corners, Joints, and Penetrations
Areas around floor drains, shower mixers, and pipe outlets must be reinforced.
Step 4: Apply Multiple Coats of Waterproof Membrane
Each coat should be applied in opposite directions (e.g., vertical then horizontal) for maximum coverage.
Step 5: Flood Testing
Fill the shower area with water for 24 hours to check for leaks.
Step 6: Tile Installation
Use high-quality adhesives and plan the layout to minimise unnecessary cuts.
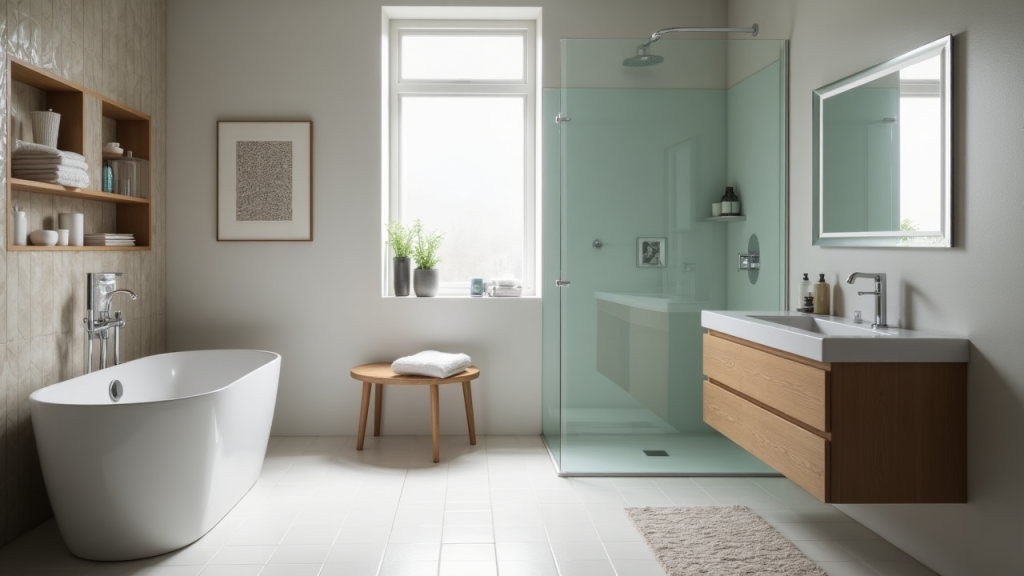
4. Choosing the Right Tiles to Support Waterproofing
Your tile selection significantly impacts how well your waterproofing system performs. Some materials absorb more water, while others have naturally low porosity.
Before revealing the game-changing tile options, it’s essential to explore a resource that helps you evaluate surface dynamics when planning bathroom waterproofing. The right tiles for bathroom not only elevate the visual appeal but also enhance moisture protection and long-term durability.
5. Common Waterproofing Mistakes and How to Avoid Them
Even small oversights can undermine the entire waterproofing system. Avoid these common pitfalls:
- Skipping surface preparation
- Applying thin or uneven waterproofing coats
- Using low-quality grout or adhesives
- Rushing the curing time
- Failing to waterproof behind fixtures such as vanities
Small details often determine whether your bathroom lasts 5 years or 20.
6. Selecting Waterproofing Materials: What Experts Recommend
To deliver maximum protection and longevity, consider:
- Liquid waterproofing membranes – flexible and easy to apply
- Sheet membranes – highly reliable with consistent thickness
- Cementitious coatings – budget-friendly for specific applications
- EPDM or PVC liners – ideal for wet rooms and high-moisture zones
But before finalising materials, many homeowners love exploring curated marketplaces that bring together premium tile and surface solutions. If you’re evaluating your options or planning to refresh your bathroom surfaces, you may find deeper value when you buy tiles online and compare specifications before installation.
7. Waterproofing the Most Vulnerable Zones in Your Bathroom
Some bathroom areas are naturally more susceptible to water damage:
7.1 Shower Enclosures
- Line walls up to at least 1800mm
- Reinforce niches with additional membrane layers
- Use slope-corrected floors to channel water
7.2 Behind the Vanity & Sink
Water splashes are frequent; seal the wall before tiling.
7.3 Around Windows or Glass Sections
These joints must be treated with flexible waterproof tapes.
7.4 Bathroom Floors
A continuous membrane with no breaks or weak joints is essential.
As you navigate tile choices, waterproof ratings, and installation techniques, understanding the foundation helps you make smarter decisions—especially when exploring and understanding different types of tiles that influence moisture performance.
8. How Long Does Bathroom Waterproofing Last?
On average, a quality system lasts 10–15 years, depending on:
- Tile porosity
- Adhesive quality
- Installation method
- Bathroom ventilation
- Maintenance frequency
Pro-grade waterproofing systems + high-quality tiles = long-term peace of mind.
9. Maintenance Tips to Make Waterproofing Last Longer
To extend your bathroom’s waterproofing lifespan:
- Reseal grout annually
- Inspect corners for cracking
- Maintain proper ventilation
- Address leaks or drips immediately
- Use mild cleaners to avoid membrane deterioration
10. When Should You Re-Waterproof Your Bathroom?
Your bathroom needs new waterproofing when you notice:
- Musty odours
- Bubbling paint or peeling plaster
- Persistent dampness on ceilings
- Cracked tiles or hollow sounds
- Brown/yellow moisture stains
Early detection prevents costly structural repairs.
Conclusion
Proper bathroom waterproofing isn’t just a renovation task—it’s an investment in your property’s durability, hygiene, and long-term structural integrity. With the right materials, attention to detail, and installation method, you can eliminate hidden moisture threats and build a resilient, leak-proof environment that stands the test of time.